To get the most out of this addon, you will need a HubSpot account (PRO plan is the minimum recommended requirement) and a PrestaShop shop.
*If you don’t have an account and you want us to advise you on how to create one, click here.
*Create a free account here.
1. Download the PrestaShop addon
You can download the module on the following platforms:
- from the HubSpot APP Marketplace (accessing this from your account or from the public Marketplace)
- from Tiralíneas
- from the PrestaShop instance:
- In the marketplace integrated in the store
- Go to the "Marketplace" section in the "Modules" group of your store's backoffice.
- Search for "HubSpot" and select the "Hubspot Integration" module.
- Click "Install".

- In the general Prestashop marketplace
- Access the Prestashop Marketplace (you can do a search in your browser).
- Search for "HubSpot" and select the "Hubspot Integration" module.
- Click "Download".
- Add it to your Prestashop (by uploading it through the module manager or by FTP).

- In the marketplace integrated in the store
2. Installing the module in PrestaShop
Once the PrestaSyncro addon has been downloaded to your computer, go to the private area ofyour PrestaShop store.
To do this you will need a username and password, and that user must also have permissions to install Addons or Modules.

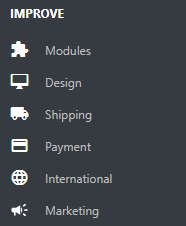
Once you are there, if you have access to manage modules, you will see the Modules section in the left side menu.
Click on Modules > Modules:
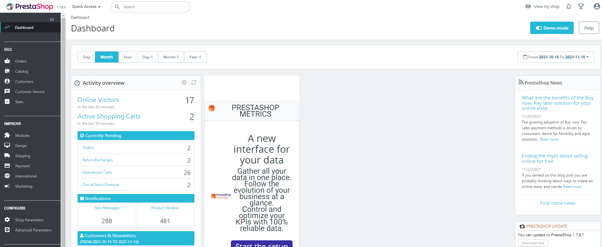
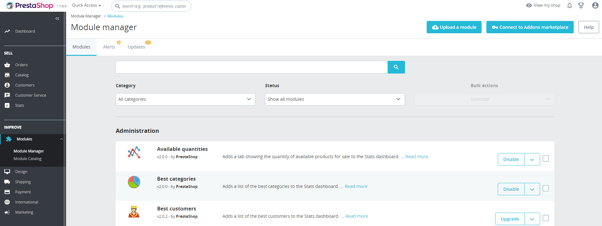
Here you will see a view similar to the one below, where you will see the current modules that your shop has.
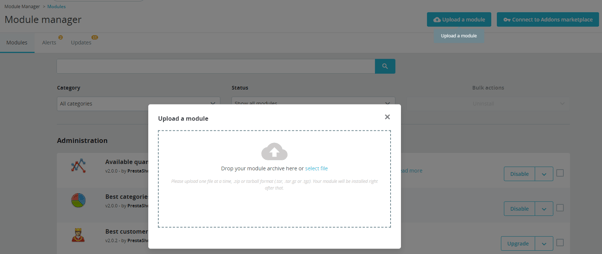
To upload the PrestaSyncro addon or module, click on Upload a module.
Here you can drag the module you have downloaded and load it or Select the file saved on your computer.
Once uploaded, the system will notify you that everything has been installed correctly with this message: Module installed!
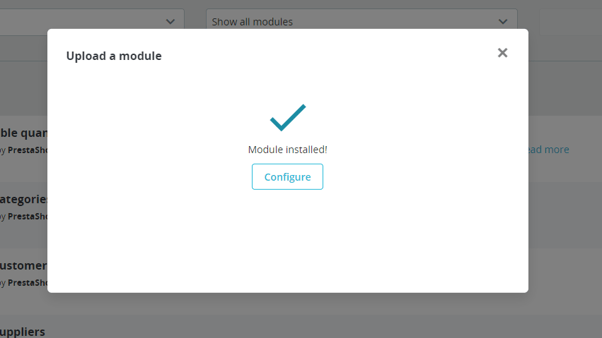
The next step is the set-up. Click on the Settings button.
3. Module set-up
Once the module is installed in the store, you must activate the license. Remember that you will have several free trial days! To activate it, log in with your Prestashop user and select the plan you are most interested in. For example, the Basic - Annual. If you have a discount coupon, this is the time to use it!
Click the Connect your account button to connect the module with your HubSpot account.
*If you don’t have an account and you want us to advise you on how to create one, click here.
3.1. Connection with HubSpot
The HubSpot configurator will appear and here you have to click on the account that you want to connect with your PrestaShop.
*All the HubSpot accounts to which you have access will appear here. Remember to choose the one that corresponds to your PrestaShop shop.
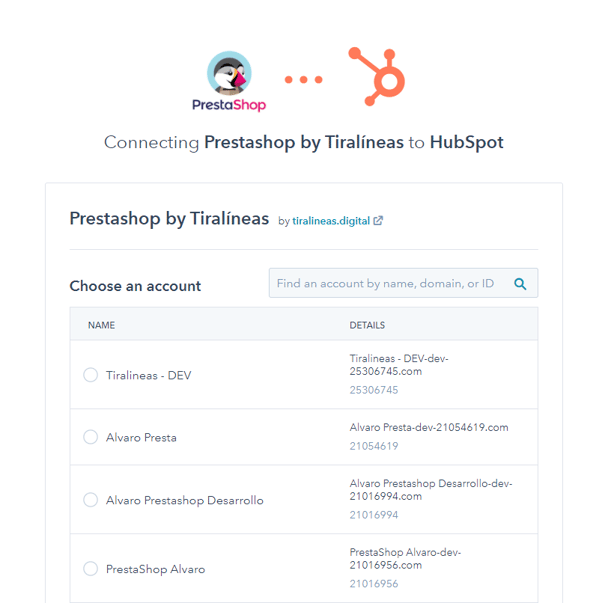
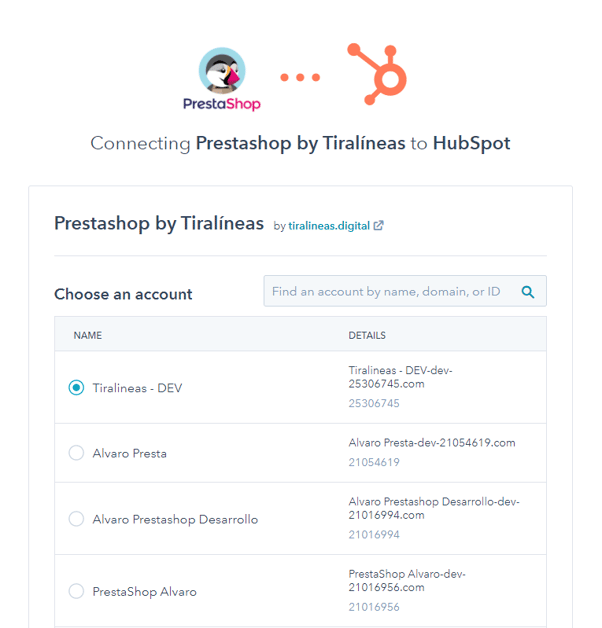
Click on the account and click on the Choose Account button.
Here it is simply a case of reviewing the objects to which you will give access in order to enjoy the complete application functionality. It is recommended that you connect the account using a Super Admin account. Once you have reviewed these, click on the Connect the application button at the bottom.
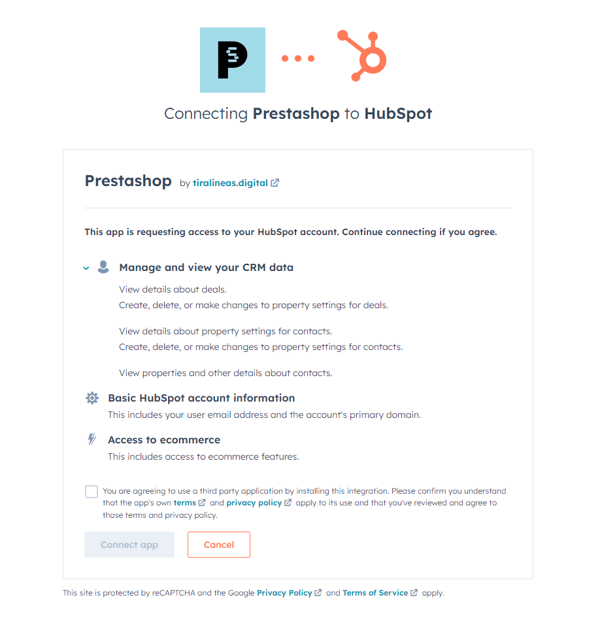

*You may have to validate the reCaptcha for security reasons.
Once you have done this, you will have connected the HubSpot account with your PrestaShop shop.
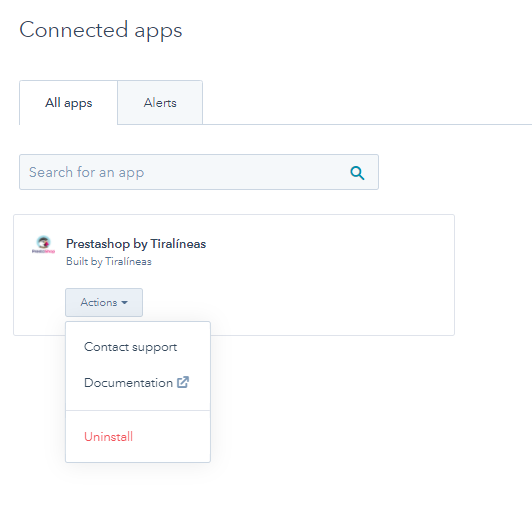
In HubSpot, in the Connected Applications section, you will always have the option to contact support and to access the documentation that you are reading now.
3.2. Set-up in PrestaShop
We return to our PrestaShop panel. We click on the HubSpot section that we now have in our PrestaShop side menu.
At this point we are going to define the name of the Store in HubSpot (this is the name that we will see in our HubSpot) and the referral URL of the online shop.
*This is designed more for customers who have several PrestaShop shops with multishop and want to identify the history of orders, shopping carts and customers for each. Our addon, as you can see, allows multishops!
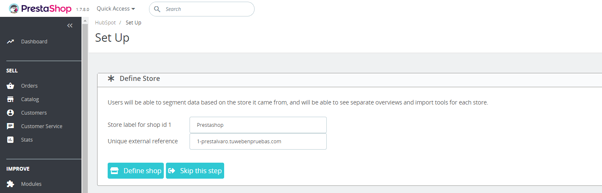
Once the records are defined, click on DEFINE SHOP.
The following steps are very important: create the properties and groups necessary to complete the set-up of the PrestaSyncro integration of PrestaShop and HubSpot.
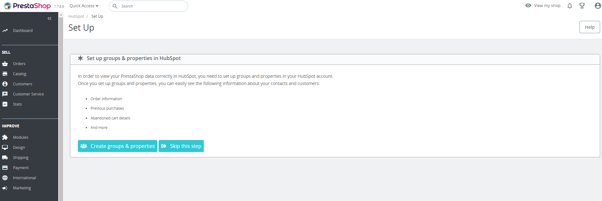
Click on the button Create group and properties. The process is completed in just a few simple steps.
In the following step, you will have the opportunity to select the HubSpot pipeline where your PrestaShop orders will be synced. You can also map the stages of the purchasing process in PrestaShop to the corresponding stages in HubSpot. *It's important to note that a new eCommerce pipeline will be automatically generated, regardless of whether you are on a Starter account or a higher plan.

The final step involves configuring the synchronization settings. During this stage, you have the option to synchronize all your existing records or to filter the synchronization to include only those records created after a specific date. Additionally, you will be able to define the duration—measured in minutes—that determines when a shopping cart is classified as abandoned. Furthermore, you can select which customer groups you wish to sync with HubSpot, ensuring that your integration aligns with your business needs.

Once the configuration is saved, we will move to the dashboard to proceed with the synchronization. Here you will be able to see the amount of data and its synchronization status, as well as the information of the HubSpot account to which this module is connected.

You can now initiate your first synchronization of historical data by clicking the Synchronization button. After the initial sync is complete, subsequent synchronizations will occur automatically.
If you have a large volume of data (exceeding 10,000 records), we recommend setting up a cron job as outlined in our instructions here.

4. HubSpot tracking code
With this addon, you not only connect PrestaShop with HubSpot, but you also automatically implement the HubSpot analytics script without any additional coding required. This seamless integration ensures that all your statistics and analytics are effortlessly transferred to HubSpot.Moreover, you can easily integrate features such as HubSpot Chats and Calls-to-Action (CTAs) directly into your PrestaShop store, all without needing assistance from a developer. This makes it a simple and effective way to enhance the functionality of your online shop!
To accomplish this, simply navigate to Settings and select the option to enable the tracking script. Be sure to click on Save to finalize your new configuration!

Now you can fully leverage the capabilities of your HubSpot CRM, knowing that all your PrestaShop eCommerce data is conveniently centralized in one location.